Registering your private registry into Portus
Once you have deployed Portus successfully and you have logged in as an admin user, now it’s time to tell Portus about the existence of your private registry. For this matter, if you haven’t done this before, Portus will automatically redirect you to this page:
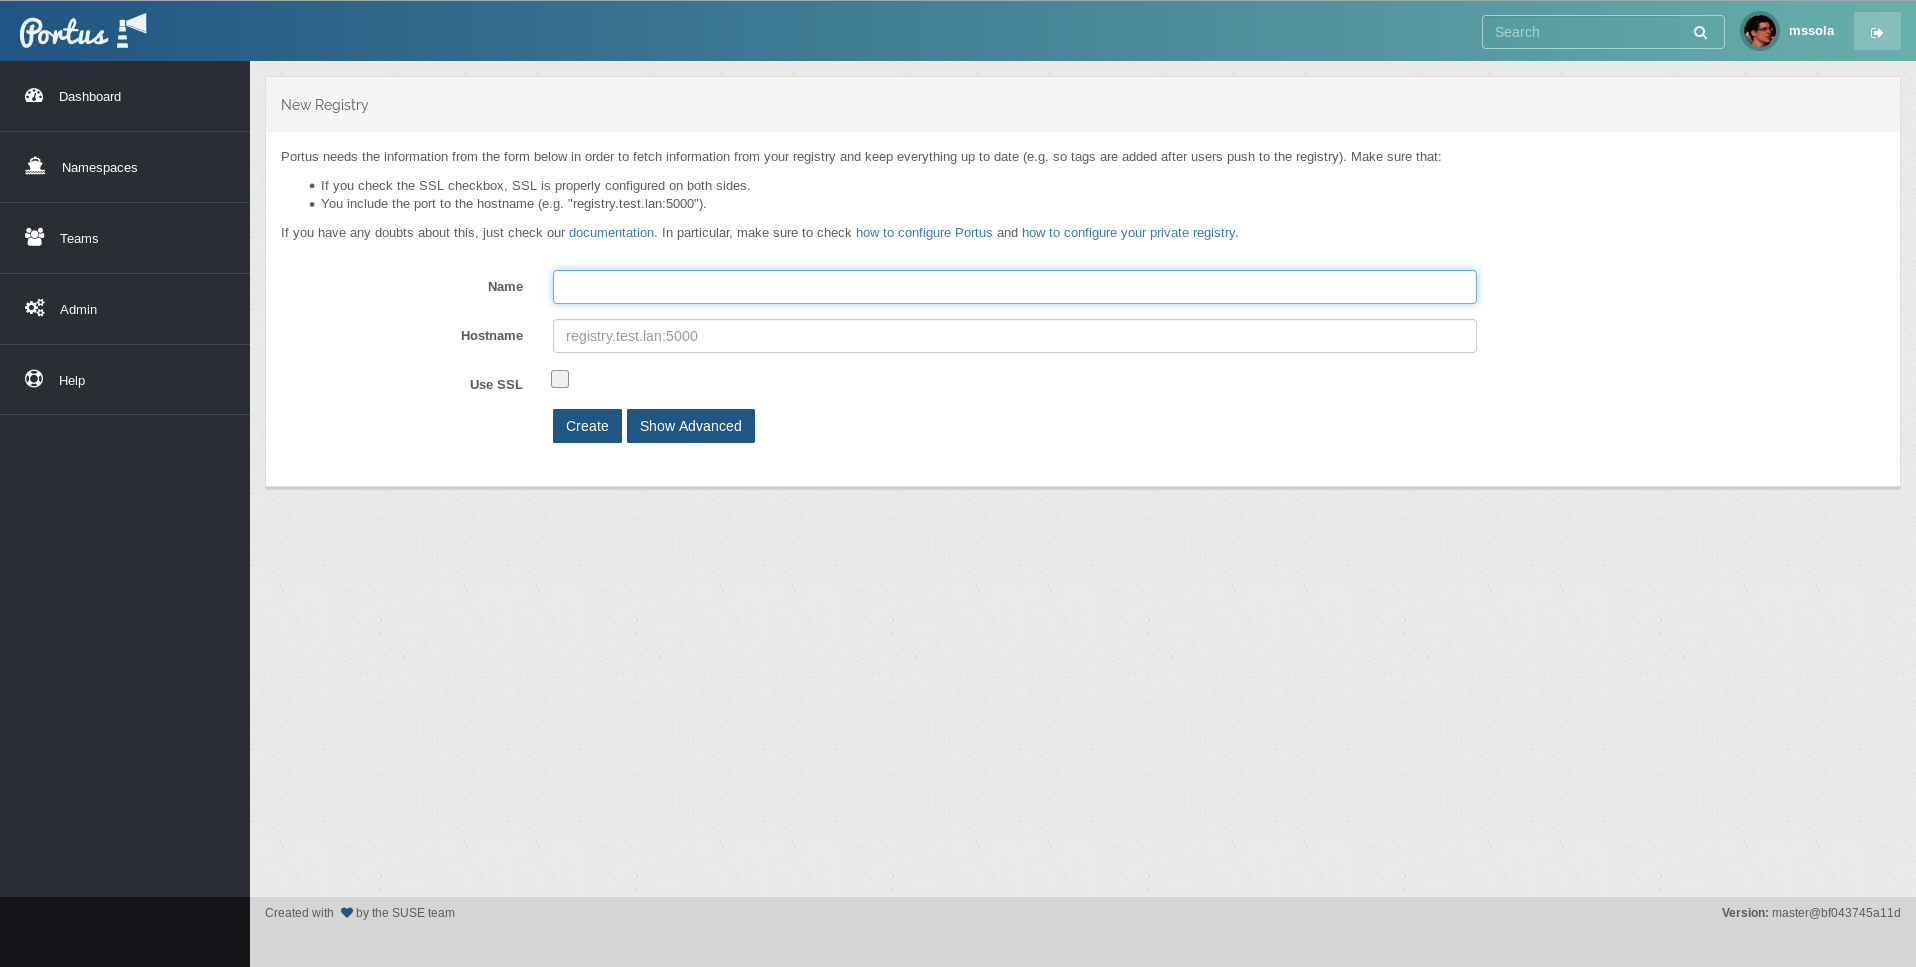
In this form you have to provide the information about your registry. You can
set any name you want, but the Hostname and the Use SSL fields are crucial
(see what does the Show Advanced button stand for
here).
For the hostname, remember to also provide the port. As an example:

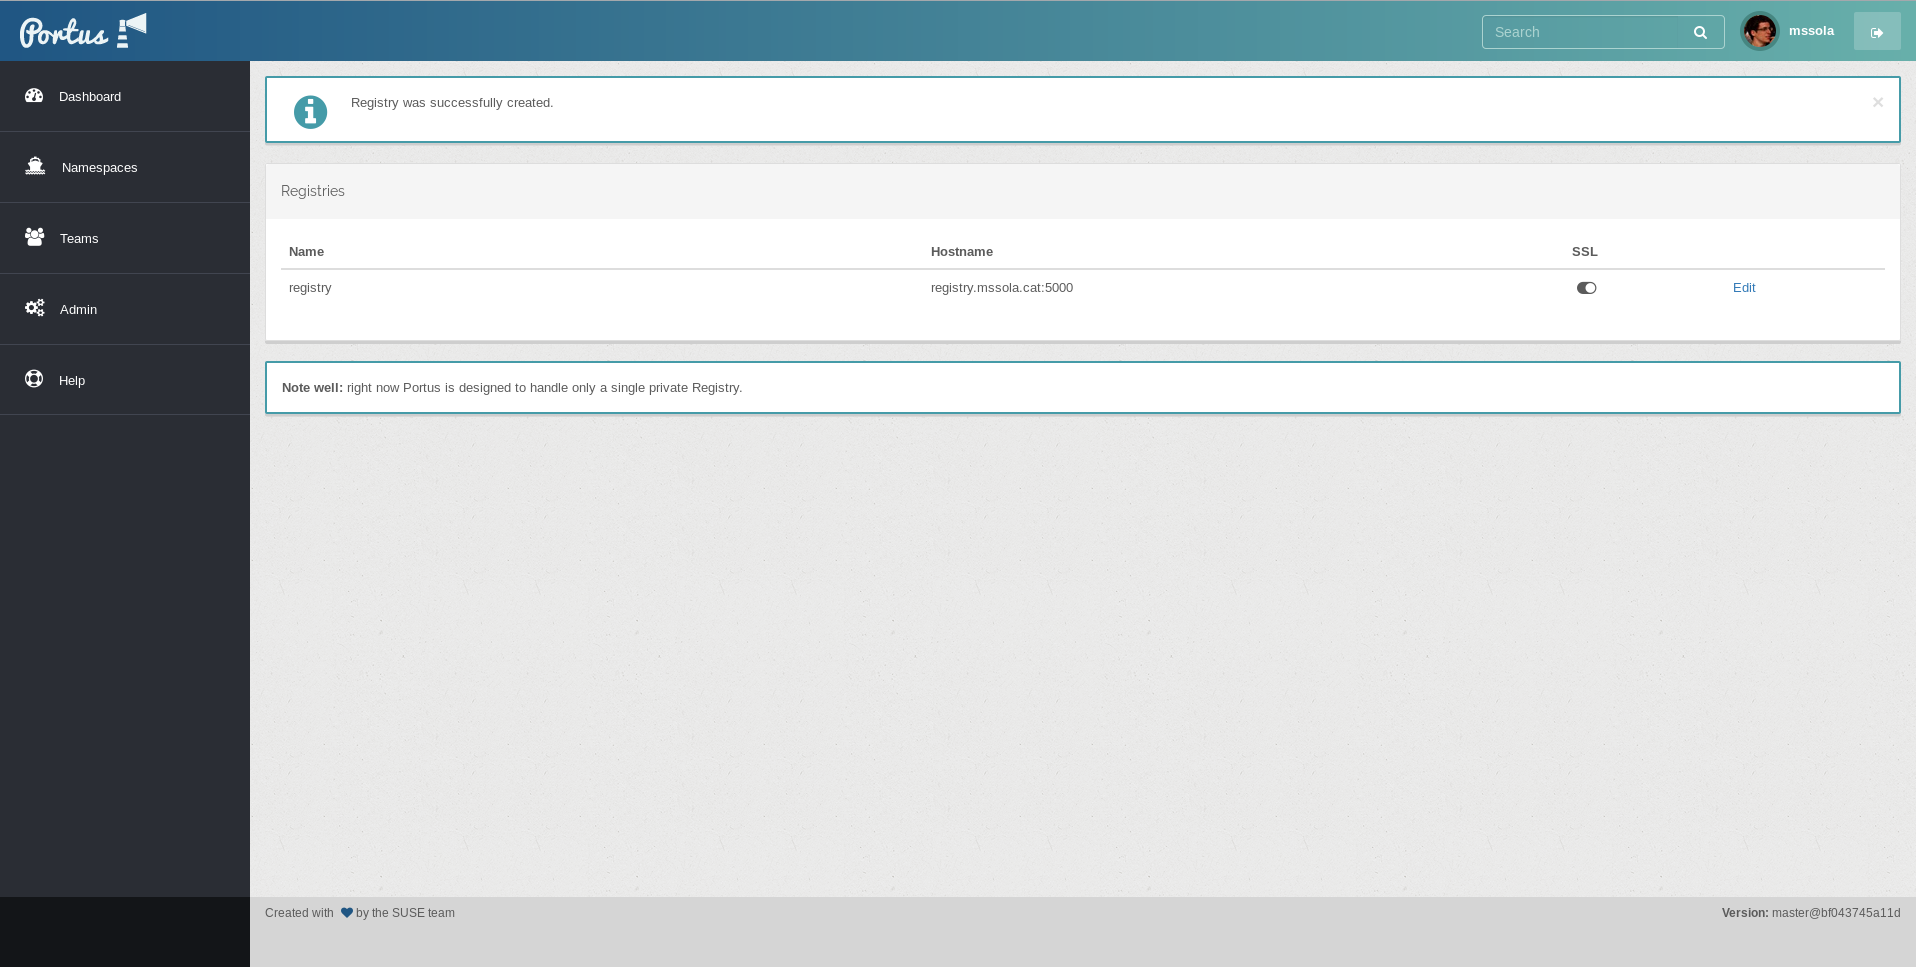
If everything went correctly, you should be redirected to this page:
However, on error, you will get an alert message with the explanation of the possible error. Let’s imagine that in the above example we forgot to set the usage of SSL (and this registry has SSL configured). In this case, you’ll get the following result:
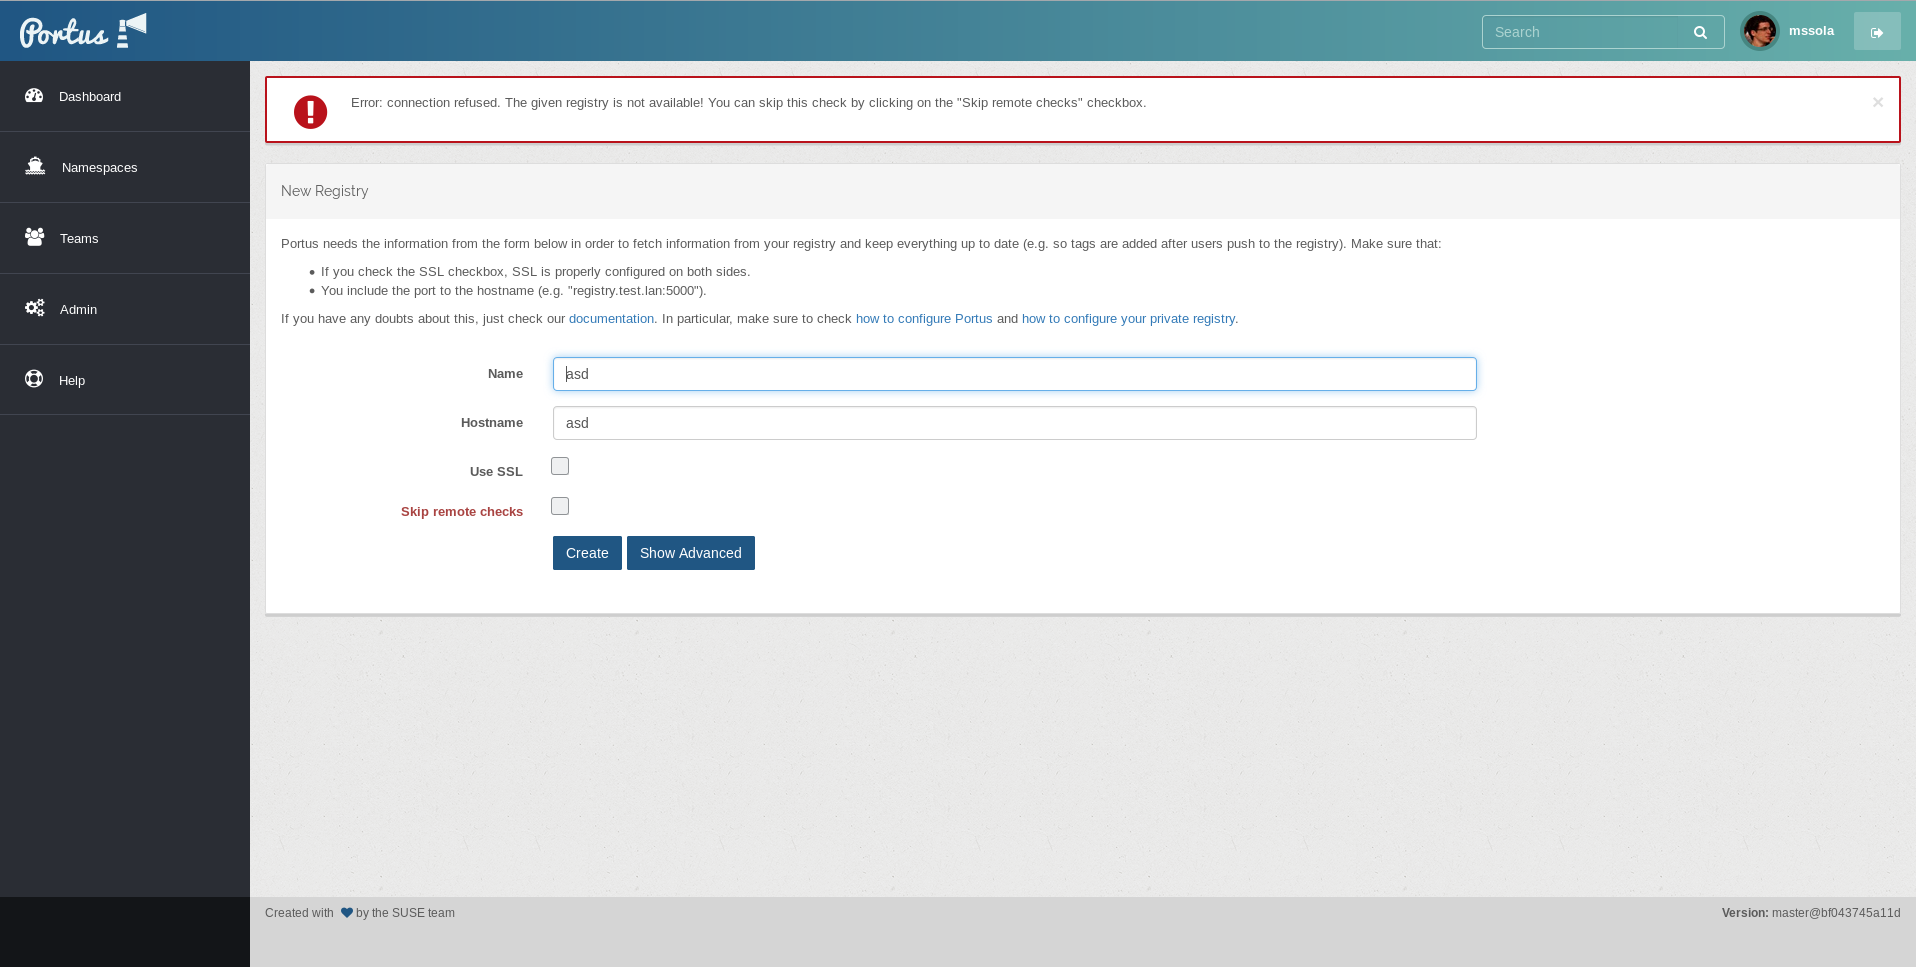
As you can see, on the top of the page an alert with the given error is shown.
Moreover, now in the form you’ll see the new field Skip remote checks. If you
check this field, then no more checks will be performed by Portus when trying
to introduce this registry. This can be useful when setting up Portus when your
registry is down at the moment, or you haven’t configured it yet.
Adding an external hostname
As you can see in the following image, the form includes a Show Advanced button:
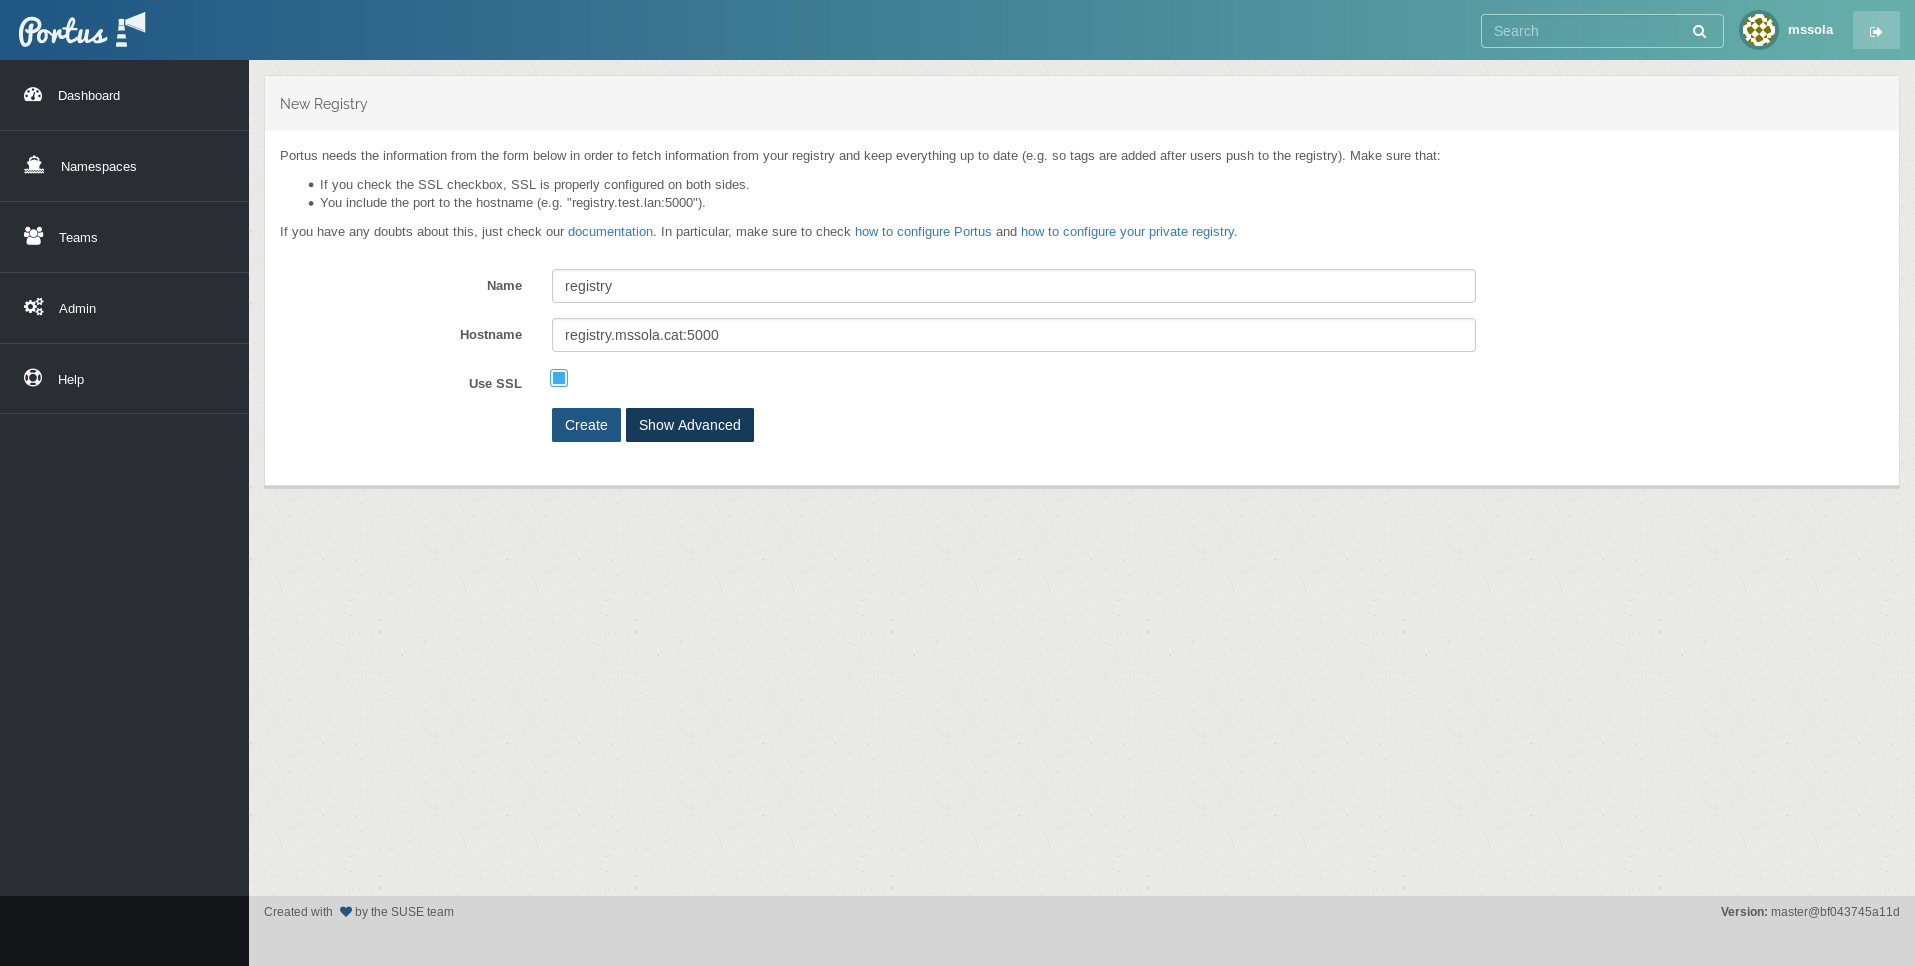
If you click this button, the following elements will be available:
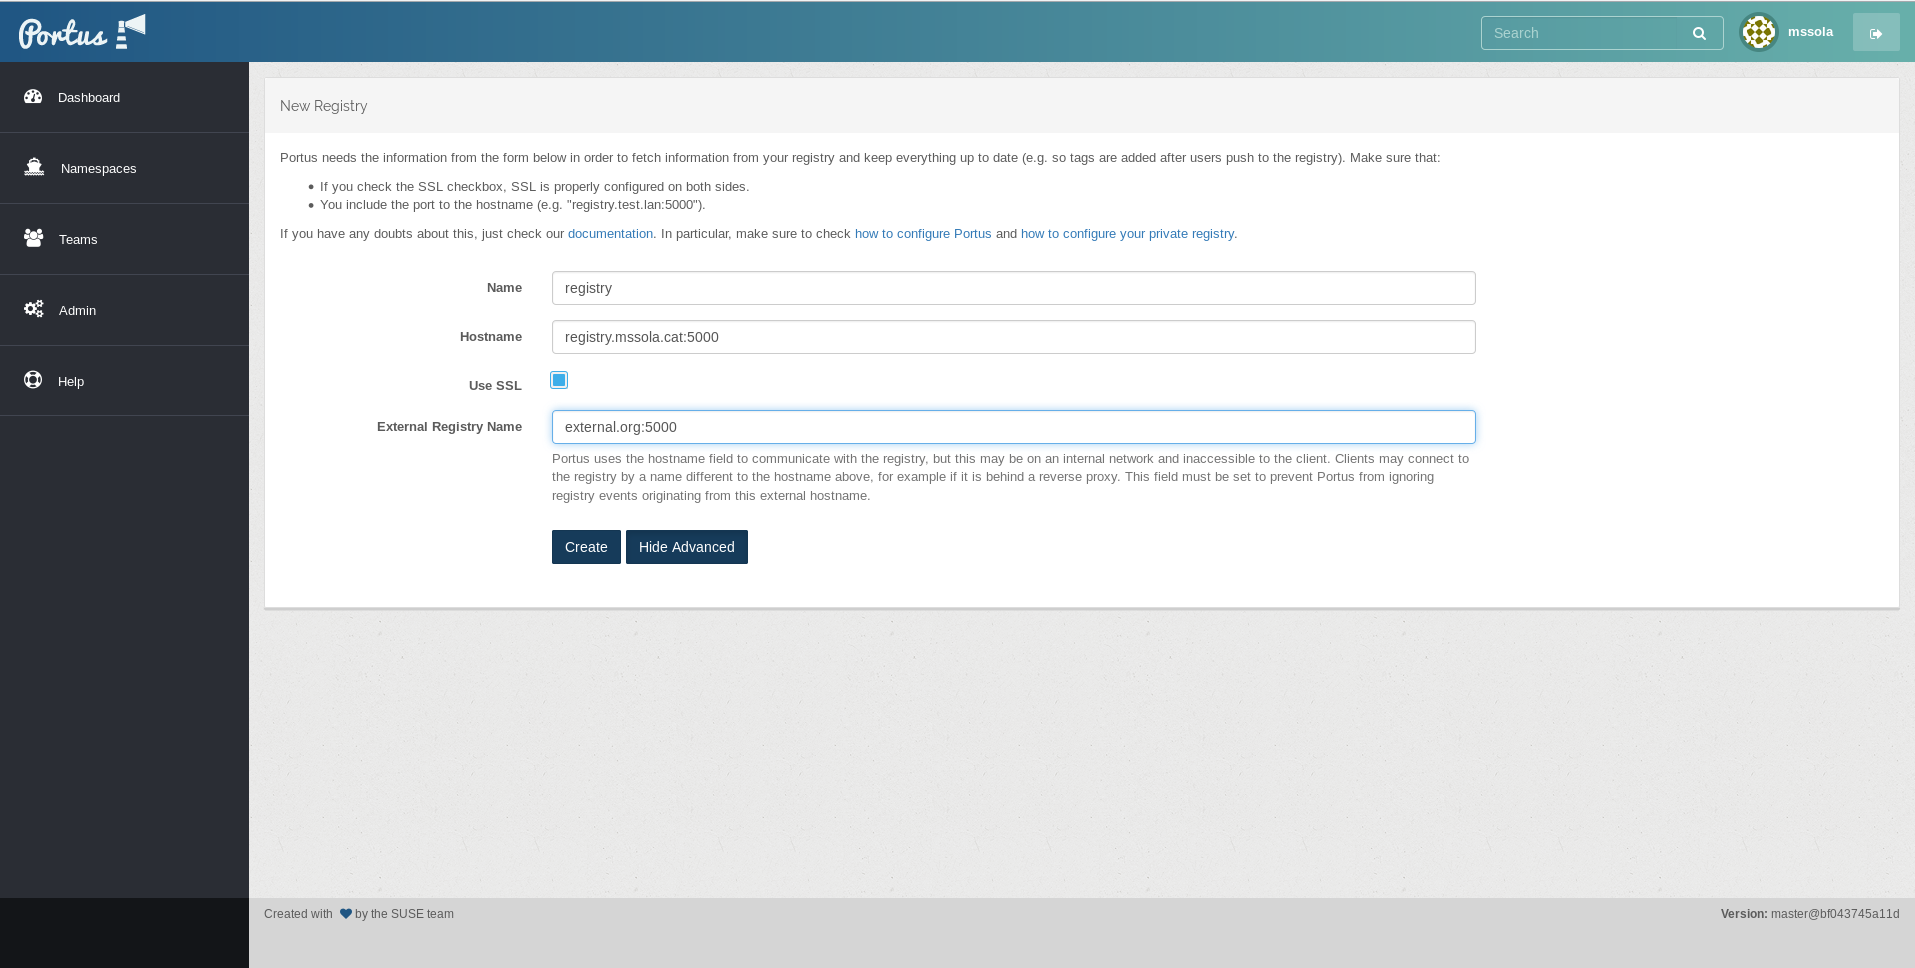
As the shown paragraph describes, you can configure Portus to use an external
hostname that will be used for the events received from the registry (e.g. a new
tag has been pushed). You can leave this empty, which is the default action and
the usual situation, which means that the hostname given in the Hostname field
is the one to be used always.
A common use case for setting an external hostname is when Portus is hidden in an internal network that is not accessible by clients, but these same clients can connect to the registry with a different hostname thanks to a reverse proxy.
Editing the configuration for your registry
Once you have created your registry inside of Portus, you can still edit it. In order to do this, just go to the “Registries” panel in the admin page, and click the “Edit” link for the registry to be edited. You’ll find the following form:
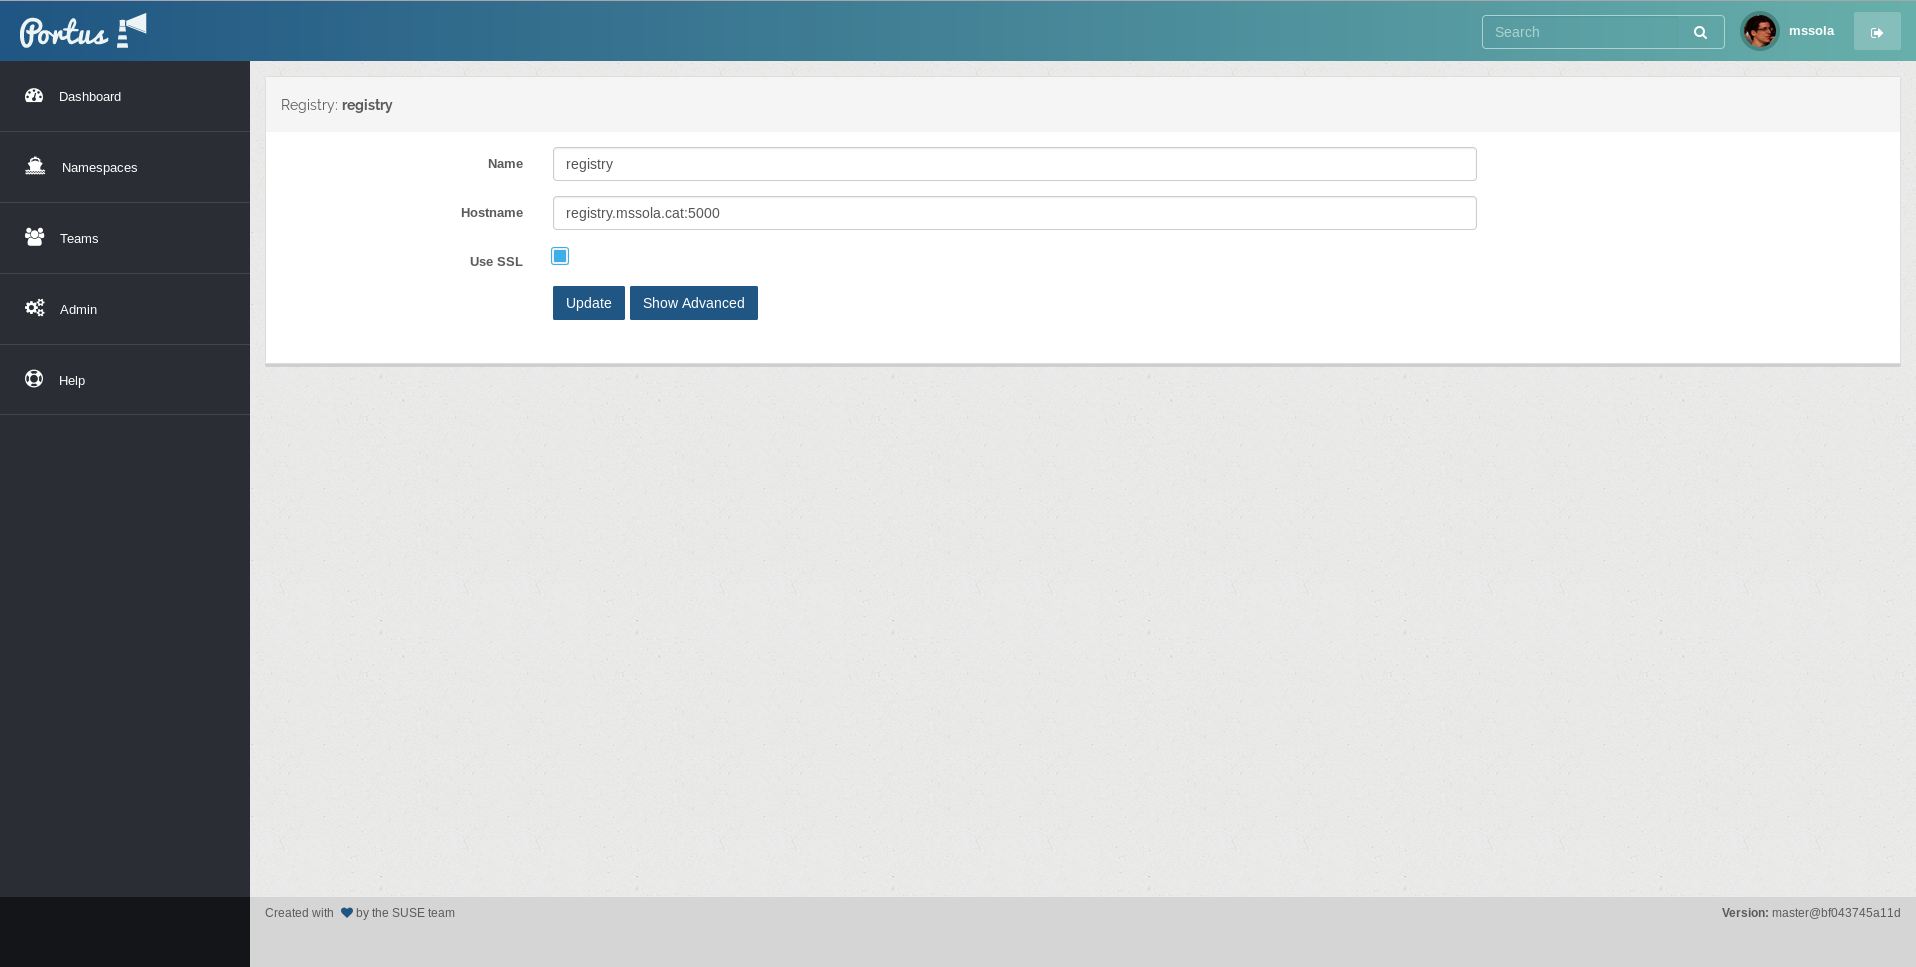
There are two scenarios when entering this page:
- You have already pushed some images into this registry and Portus has pulled
them into the database. In this scenario, you will not be able to edit
either the
Hostnameor theUse SSLfield. Instead, you will not even see them. This is because changing this on an already initialized registry means that Portus should do a migration of the data, and this is not supported by Portus yet. Therefore, in this scenario, you will only be able to update the name. - Portus was not able to pull any image from this registry. This can happen either when you have just created the registry or when there is some misconfiguration. Note that this form is specially useful in this case, when for some reason you decided to skip the checks on the creation form and now you realize that you made a typo or something.
