Teams
Teams are the way in which an organization can manage sets of users. Each team owns a set of namespaces, which are used to group repositories. Besides grouping namespaces, teams are used to manage the permissions in which each team member can push/pull certain repositories. This is done through team roles, but you can further restrict push access by setting a push policy (see a TL;DR at the bottom of this page).
The UI for managing teams is quite simple. First, you can go to the “Teams” page and you will see something similar to this:
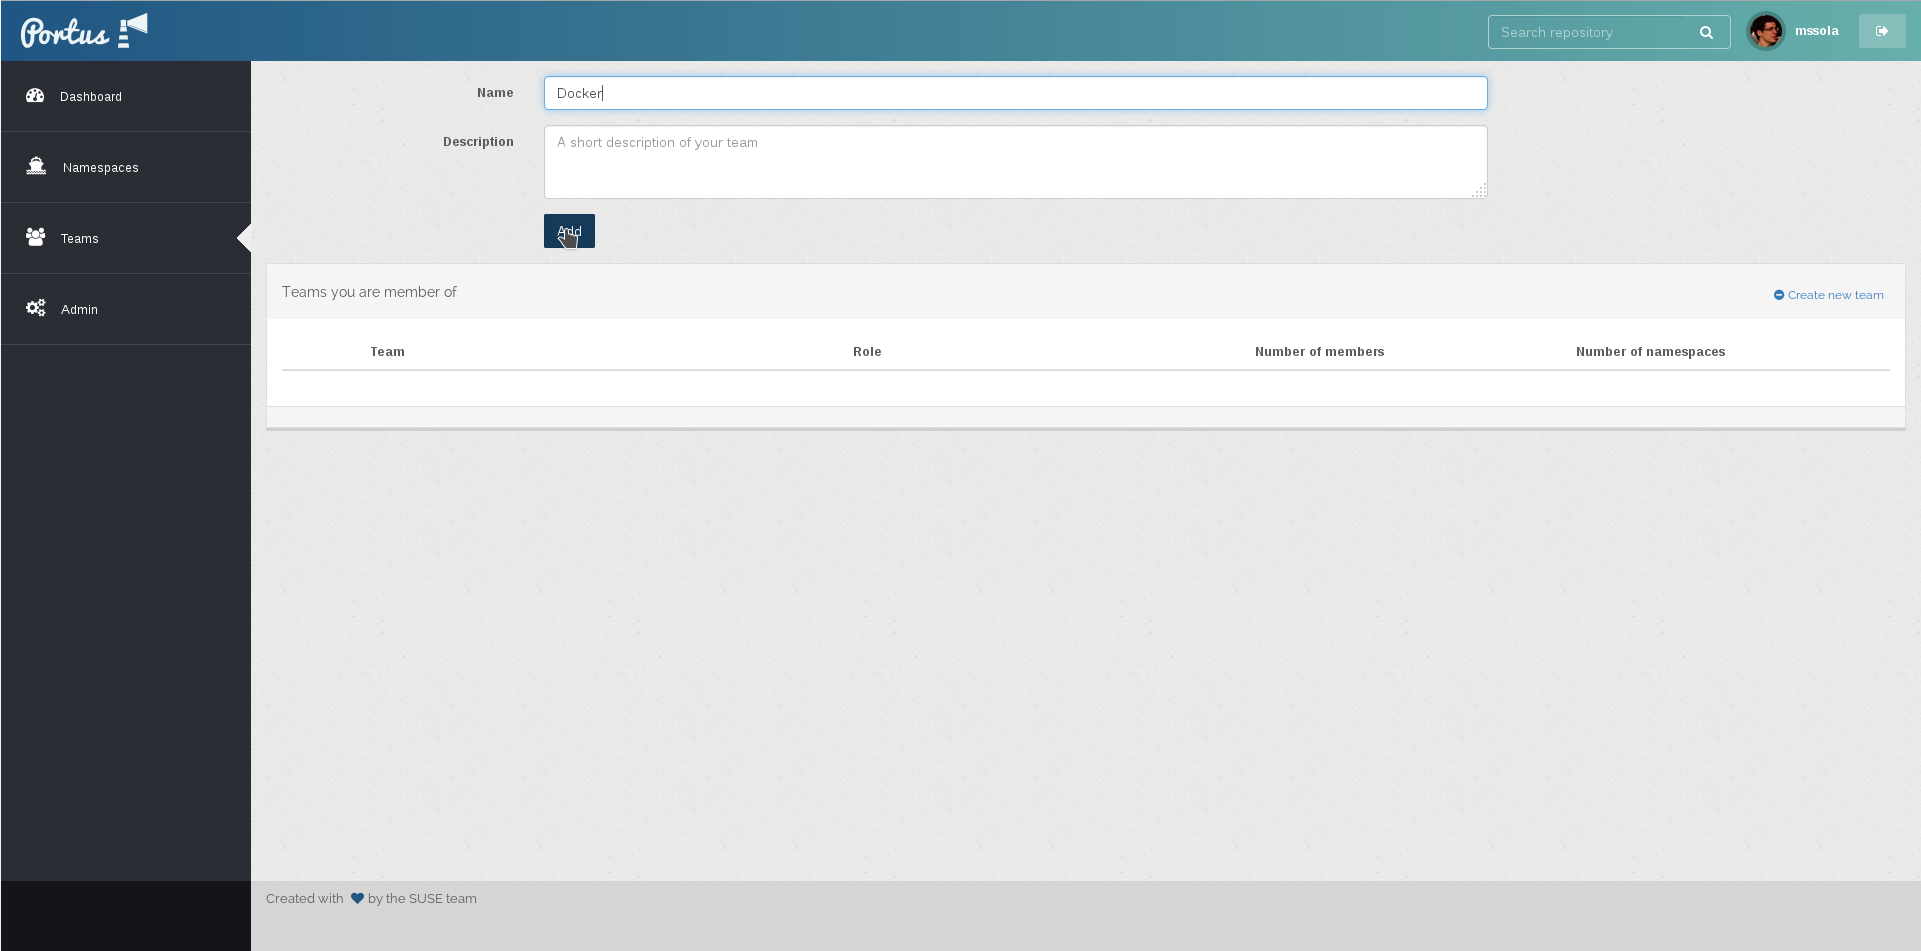
In the previous image you can see the form for creating a new team. Moreover, this page will list the teams in which the current user is a member. If you click to one of the teams, then you will go to this team’s page. In there you can see listed the team members and the list of owned namespaces. It should be something similar to this:
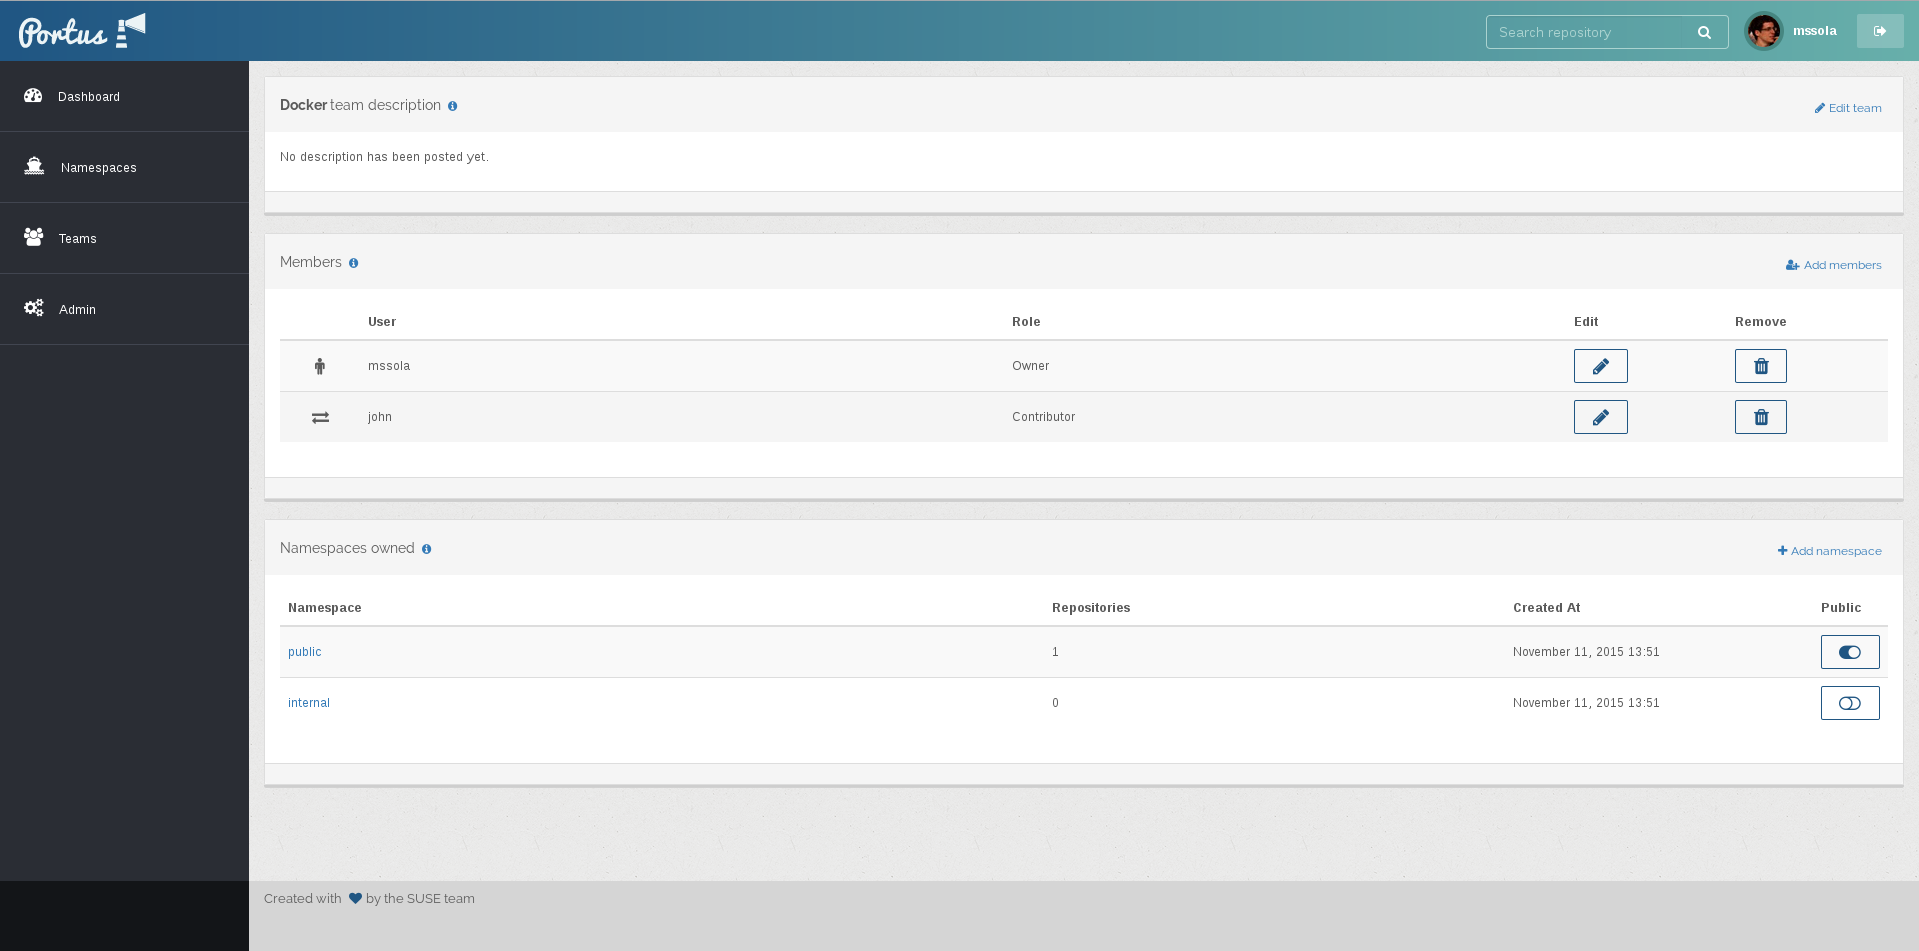
In the previous image, the current user was the owner of the team. Therefore, some UI elements are available to this user:
- A widget that will allow us to edit the team role of each user.
- A button that will allow us to remove a certain user.
Team roles
The way to handle permissions within a team is by establishing roles for each team member. Roles are managed by team owners, and they are as follows:
- Viewer: viewers can only pull from the repositories owned by the team.
- Contributor: contributors can both pull and push from the repositories owned by the team.
- Owner: owners have the same permissions as contributors, but they can also manage the list of team members. Owners can: add/remove team members and edit the role of team members.
Namespaces
A namespace is simply a collection of repositories. Namespaces are the way in
which Portus is able to manage repositories in a friendly and clear way. Each
namespace belongs to a team. As we have seen in the
section about teams, teams
are the responsible for setting the push and pull permissions. Therefore,
namespaces don’t have to deal with permissions, they are just a tool for teams
to aggregate repositories. Of course, each team can have multiple namespaces.
Kinds of namespaces
Namespaces group repositories, but we have to have in mind that there are multiple types of namespaces. This is because besides team-owned namespaces, there are two more kinds of namespaces that are a bit special: the global namespace and personal namespaces. More clearly:
| Kind | Description | Permissions |
|---|---|---|
| Global | The one that belongs to the registry. | Only admin users can push. Everyone can pull. |
| Team | The ones that belong to a team. | Defined by the team. |
| Personal | Each user has its own namespace. | Only the user and administrators can push/pull. |
The global namespace gets created when installing Portus, after a registry has been created (see more about this here). The personal namespace gets created when the user signs up.
Moreover, a namespace can be public. A public namespace can be pulled by anyone, regardless if the user is logged in or not. This can be useful to allow a set of repositories to be accessible to anyone outside of the organization.
The Web interface for namespaces
There are two main things that an user can do on the web site regarding namespaces:
- Creating a new namespace.
- Listing all the repositories from a given namespace.
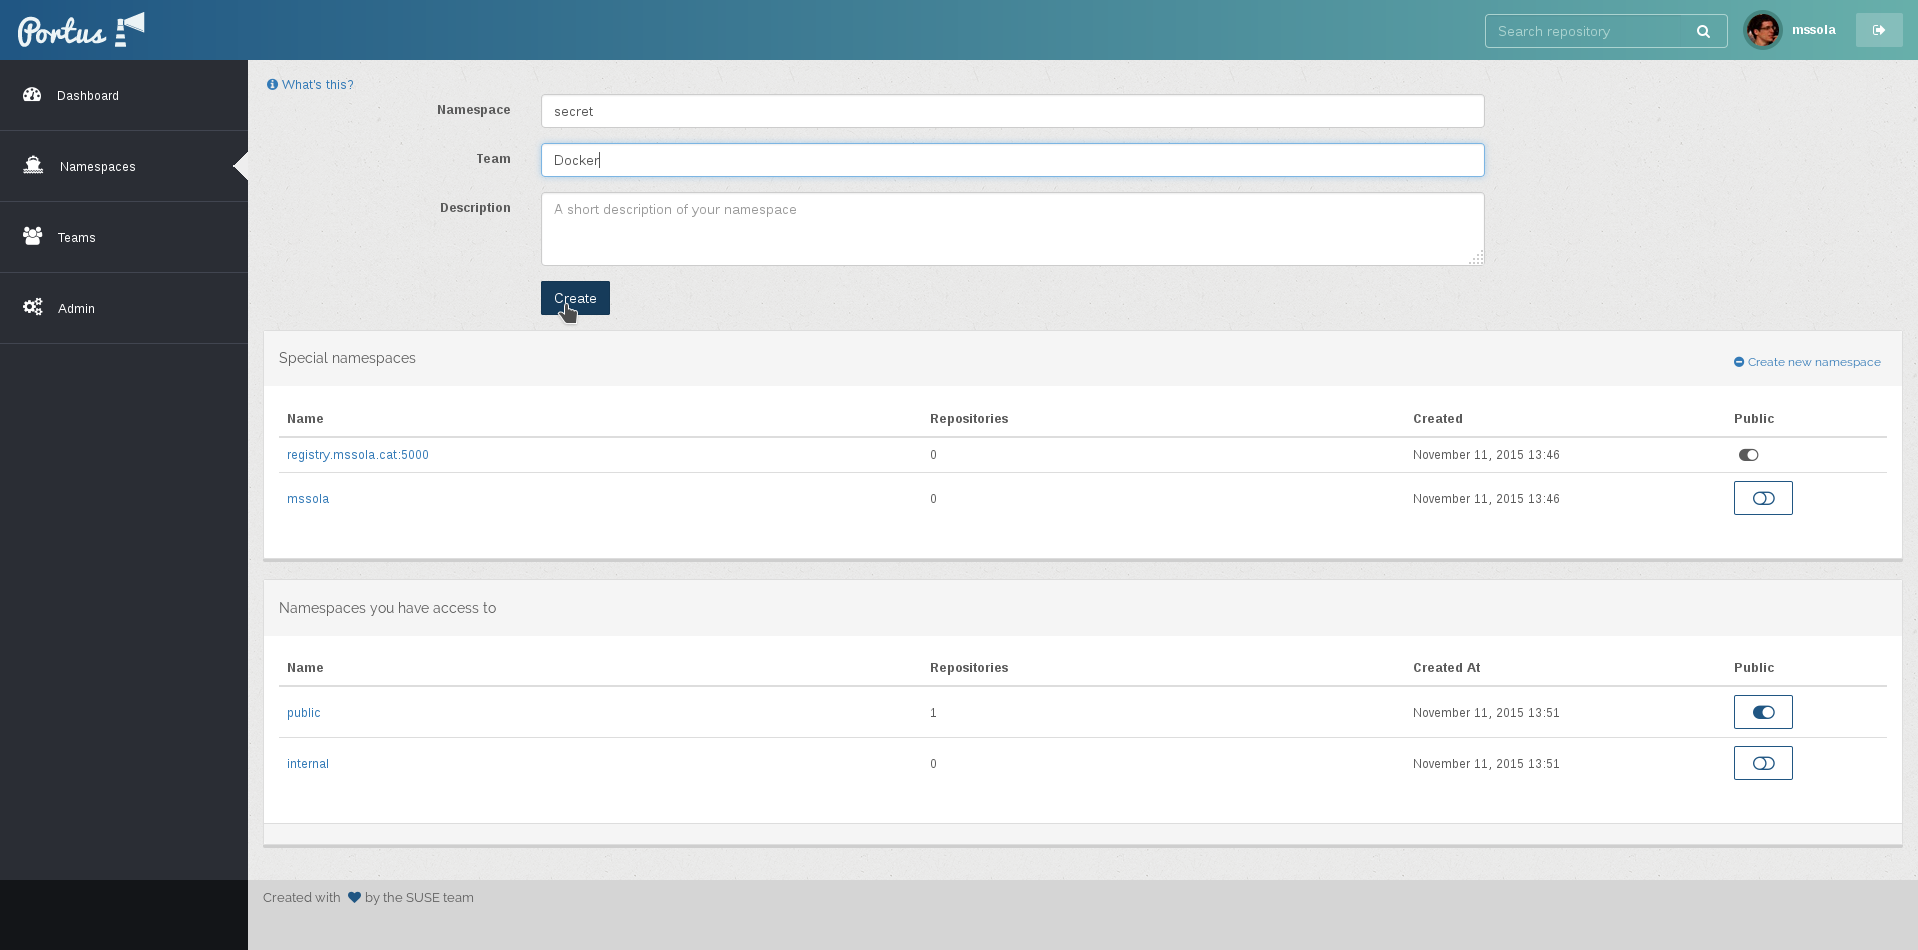
There are two ways of creating a namespace: one from the “Namespaces” tab, and the other from the “Teams” tab. In the “Namespaces” tab, you do this by clicking on the link on the top right corner that says “Create new namespace”, as you can see in the following snapshot:
In order to do this from the “Teams” tab, the owner of the team has to click on the team in which the owner wants to create said namespace. Once this is done, the owner will just have to click on the link on the top right corner that says “Add namespace”, as you can see in the following snapshot:
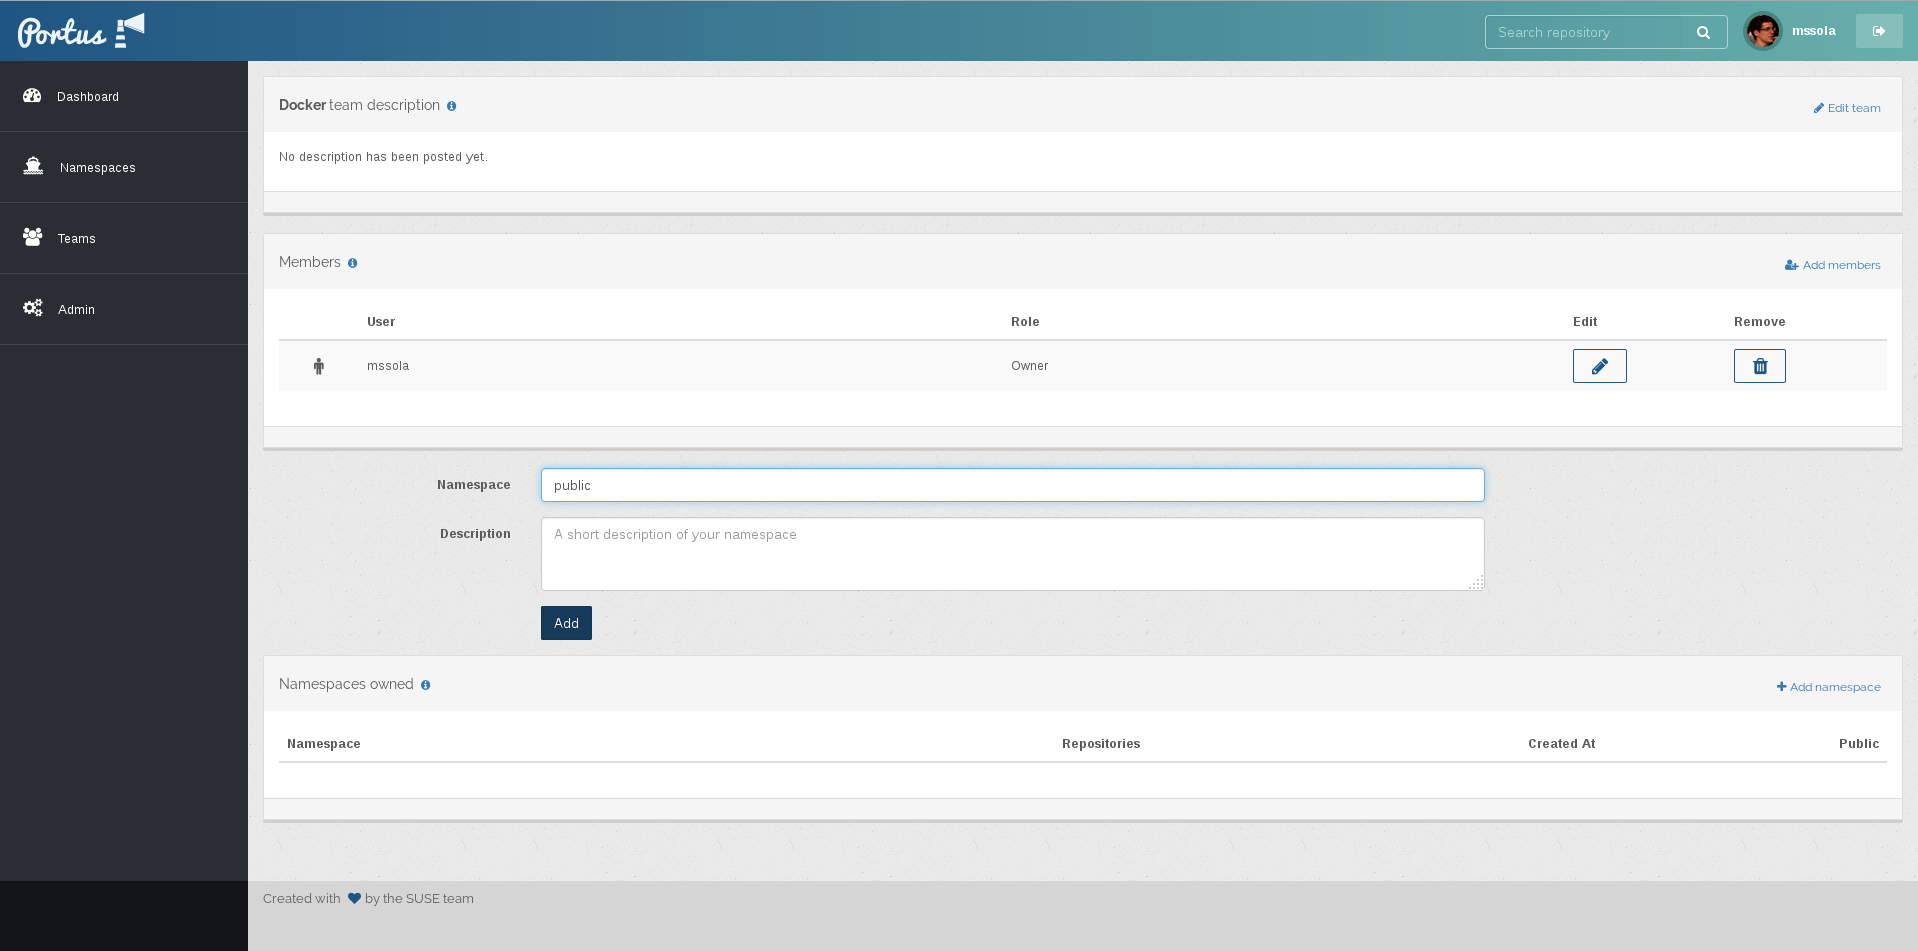
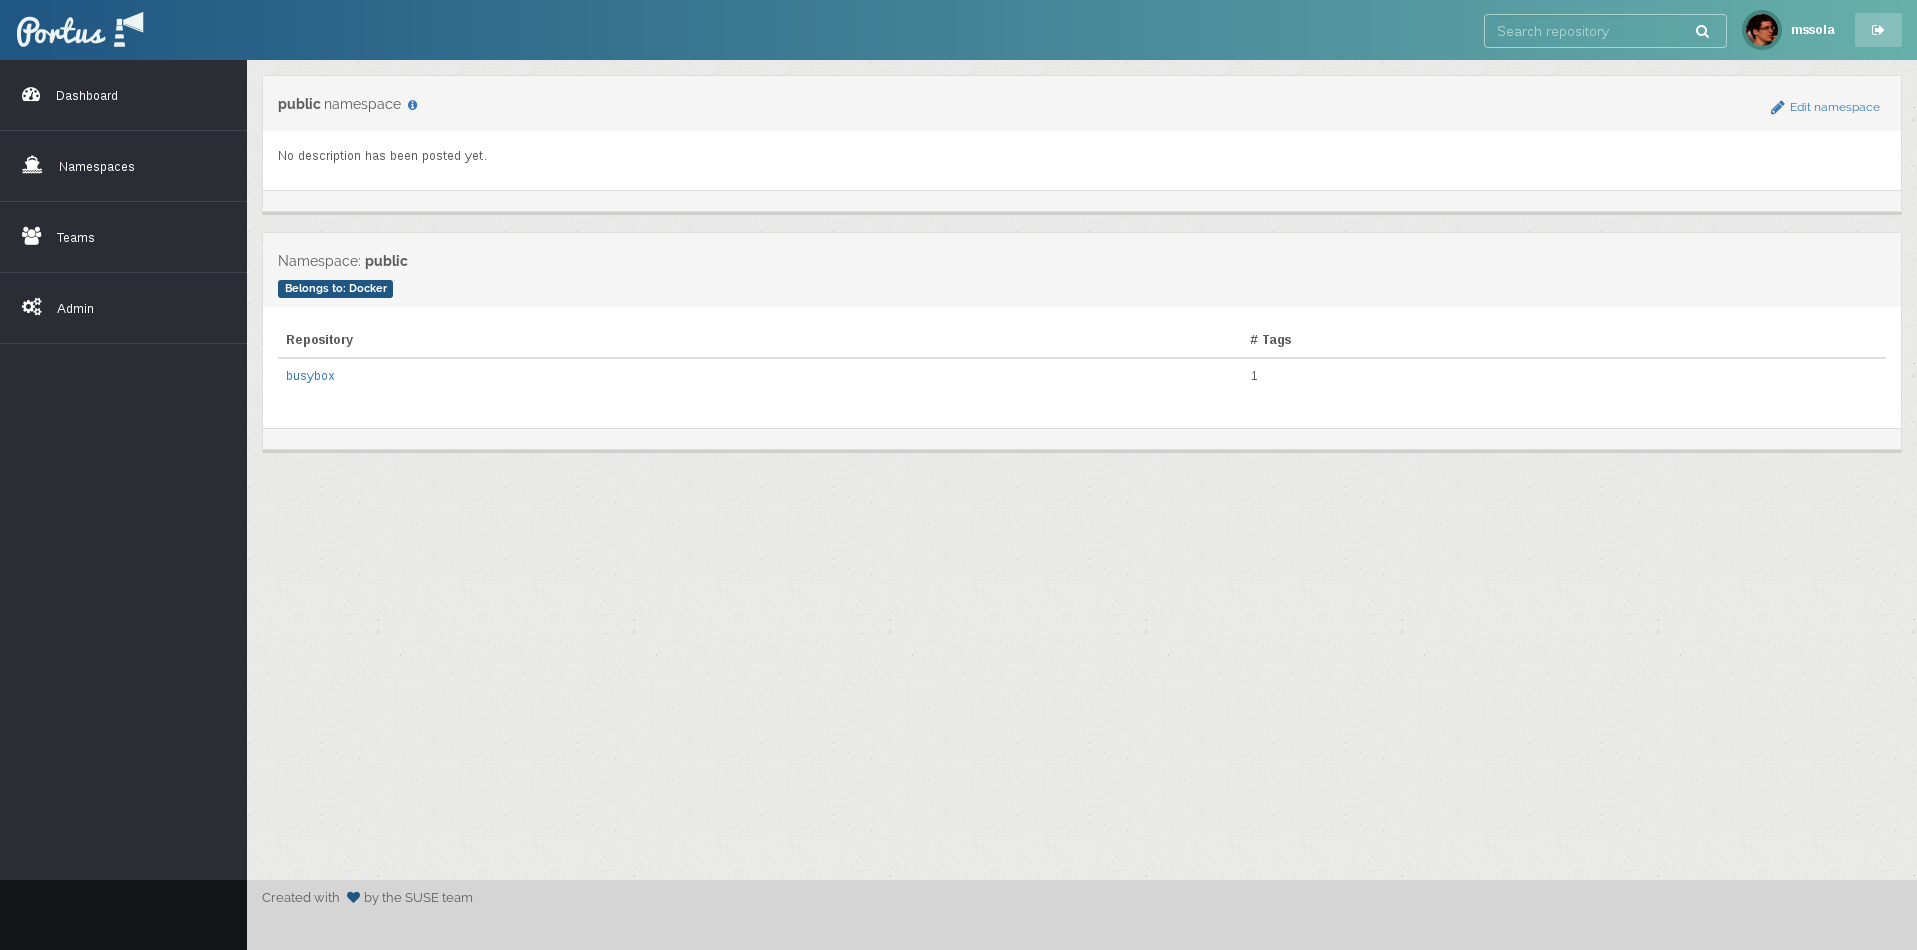
Note that only owners of a team can create new namespaces. Finally, in order to show the repositories that are accessible from a namespace, the user should go to the “Namespaces” tab and click on one of the listed namespaces. Note that this list gives all the namespaces in which the current user has access to. In order to list the namespaces from a specific team, one has to go the “Teams” tab and click on the wanted team. The page of a namespace just shows the repositories contained in each given namespace, and how many tags does the repository have. For example:
Users
Adding more admin users
Only the admin user can add more administrators to the system. In order to do it, the admin has to click the “Admin” tab, and then click “Users” in one of the top containers. Then, the admin should be seeing something similar to this:
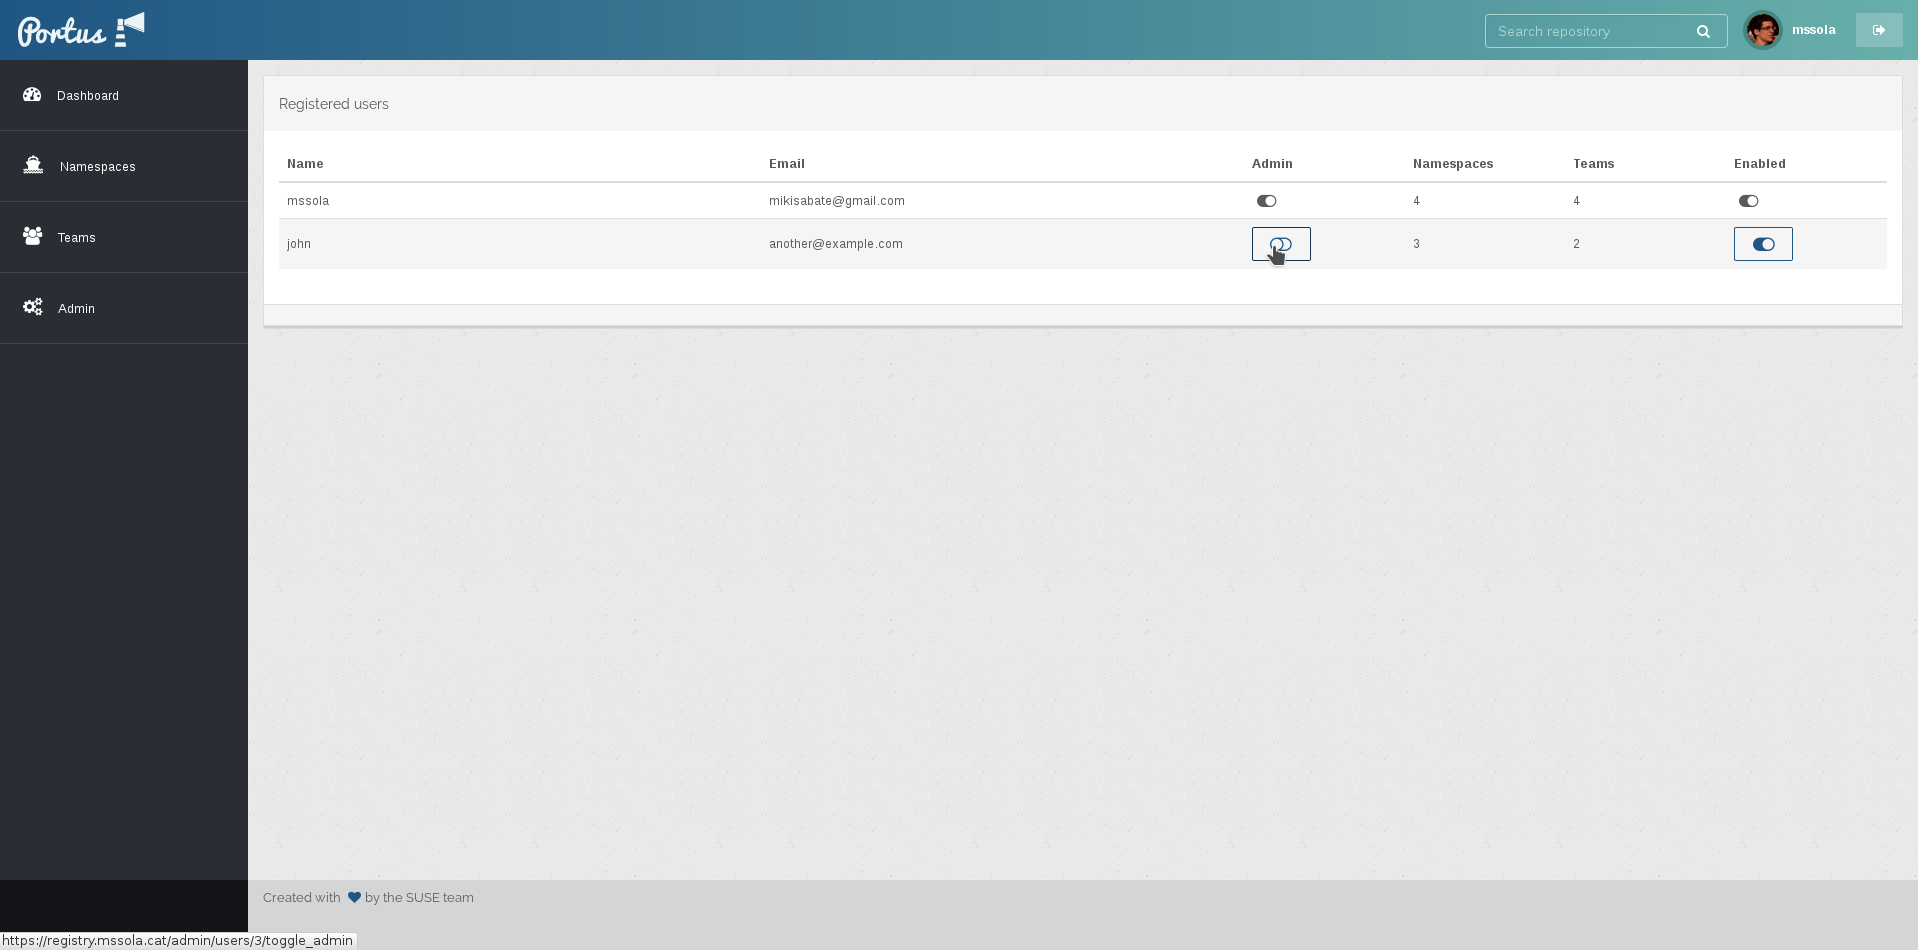
This page contains a list of all the users registered in the system. By toggling the switch under the “Admin” label, the admin can give admin permissions to different users.
Push policies
Push policies are regulated in the user_permission.push_images.policy option
described here. It
may take one of the following values:
allow-teams: this is the default value and it will simply apply all the rules that have been stated above on this page. That is, push policy will be regulated through team permissions. This way, Portus administrators and team owners and contributors will be able to push to the namespaces owned by a given team.allow-personal: this way Portus will restrict push access to only administrators of Portus. That being said, users will still have their own personal namespace at their disposal.admin-only: when used, it will restrict push access to only Portus administrators. Users won’t even have a personal namespace. Use this option if you want to ensure that only Portus administrators can submit Docker images to your private registry.
Note that when either allow-personal or admin-only have been selected, then
owners, contributors and viewers of a team have the same permissions on
team-owned namespace: only pull access.
Summary with all the options
allow-teams
| Roles | Global namespace | Personal namespace | Team namespace |
|---|---|---|---|
| Admin | push/pull | push/pull (of any user) | push/pull |
| Owner | pull | push/pull | push/pull |
| Contributor | pull | push/pull | push/pull |
| Viewer | pull | push/pull | pull |
allow-personal
| Roles | Global namespace | Personal namespace | Team namespace |
|---|---|---|---|
| Admin | push/pull | push/pull (of any user) | push/pull |
| Owner | pull | push/pull | pull |
| Contributor | pull | push/pull | pull |
| Viewer | pull | push/pull | pull |
admin-only
| Roles | Global namespace | Personal namespace | Team namespace |
|---|---|---|---|
| Admin | push/pull | push/pull (of any user) | push/pull |
| Owner | pull | pull | pull |
| Contributor | pull | pull | pull |
| Viewer | pull | pull | pull |